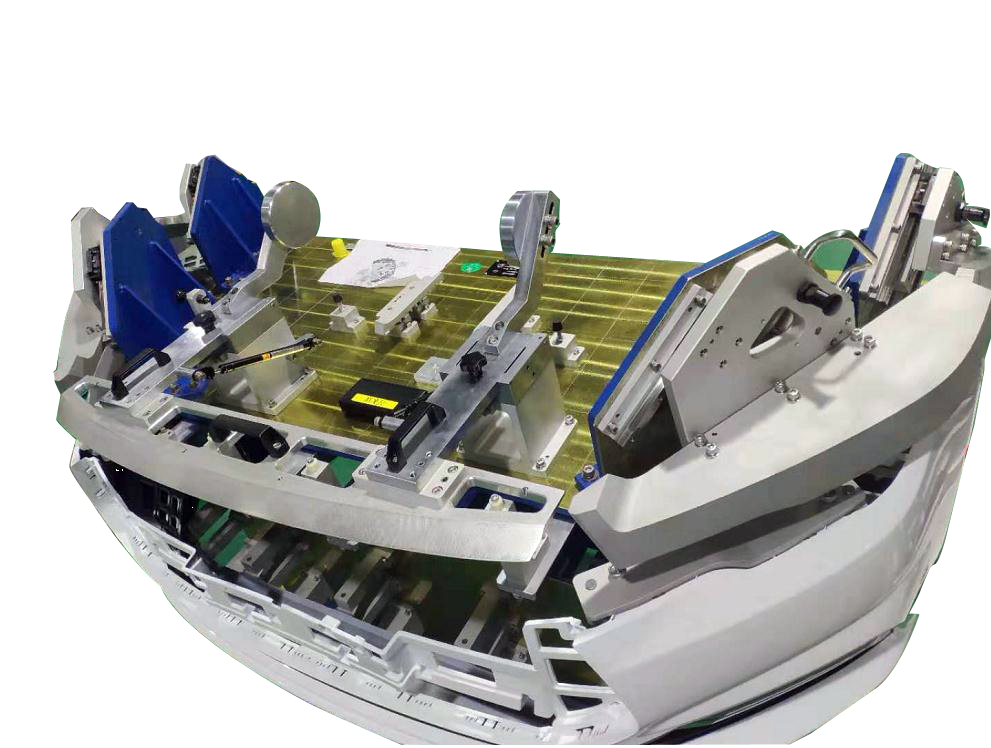
Assembly gauge
I. check the surface of plug gauge before use, and there shall be no rust, scratch, black spot, etc.; the mark of plug gauge shall be correct and clear.
2. The standard conditions for plug gauge measurement are: the temperature is 20 ° C, and the force measurement is 0. It is difficult to meet this requirement in actual use. In order to reduce the measurement error, try to use plug gauge and tested equipment to measure under isothermal condition. Use as little force as possible. Do not push the plug gauge into the bore or to the side.
III. when measuring, the plug gauge shall be inserted or pulled out of the hole axis, and shall not tilt; the plug gauge shall be inserted into the hole, and it is not allowed to rotate or shake the plug gauge.
IV. it is not allowed to use plug gauge to detect unclean workpiece.
Plug gauge is one of the precision measuring instruments. Handle with care and do not touch the working surface.
Vi. the plug gauge shall be cleaned with clean soft cloth or fine cotton yarn immediately after each use, coated with a thin layer of antirust oil, put into a special box, and stored in a dry place.
7. The plug gauge shall be verified regularly. The inspection period shall be determined by the measurement department.

When using, the correct operation of the instrument can be summarized as "light", "positive", "cold", "full".
Light: handle gently, safely and stably; do not litter or collide with the workpiece, check whether the workpiece is stable; check whether the light card is inserted lightly, and do not insert the hard plug.
Front: the position must be placed in a positive direction and cannot be tilted, otherwise the test result will be unreliable.
Cold state: only when the temperature of the workpiece to be tested is the same as that of the instrument can it be tested. It is not possible to test a piece that has just been processed and is still hot. Precision workpieces should be measured isothermal by instruments.
All: instrument test pieces are required to obtain correct and reliable inspection results. The plug end must be checked over the entire length of the hole and tested on 2 or 3 axial planes; it can be tested on both ends of the hole. The end of the calipers and the end of the calipers shall be tested along the shaft and in not less than four positions around the shaft.
